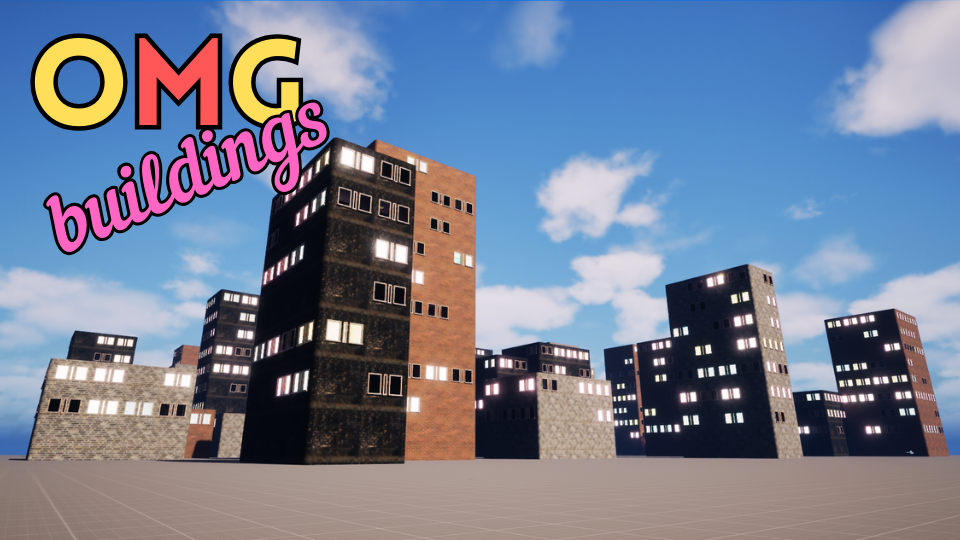
OMGBuildings is a plugin for Unreal Engine that lets you quickly generate customizable city environments for your games. Tutorials are also available on our YouTube channel.
 Why OMGBuildings?
I created OMGBuildings because I needed a flexible, affordable city-building solution for my own game. Existing tools were either too expensive or didn't do what I needed. If you're an indie dev, you'll appreciate the massive discount for indie developers on the Fab store, and the focus on usability and performance.
If you think that any of this documentation is unclear or incomplete, please let me know by submitting a bug report! You can submit a bug report after you register for a free account.
Getting Started
Install OMGBuildings and get started in minutes!
- Purchase and download OMGBuildings from Fab.
- Open Epic Games Launcher → Library → Install the plugin for your Unreal Engine version.
- Launch Unreal Engine Editor, go to Edit → Plugins, search for "OMGBuildings", and enable it.
- If you want to use the window boxes, go to Project Settings and type in Ray Tracing. Ensure Support Hardware Ray Tracing is DISABLED. There is a fix for a specific bug with cube arrays that is scheduled to be resolved in Unreal Engine 5.7, but until that is released we must do this if the window box internals are required.
- Restart the editor.
- In the Content Browser, find the OMGBuildings plugin folders (Blueprints, Data, Materials, Maps).
- You may need to click the Content Browser 'cog' and select Show Plugin Content and Show Engine Content.
- The OMGBuildings plugin should then be visible in the Engine→Plugins folder, or in the standard Plugins folder.
- Open the example map or follow the next section to create your own!
Prefer video? Watch the tutorial here.
Back to Top
Make Your First Building
Create your first building in just a few steps:
- Create a new empty level.
- Ensure you can see Plugin Content in your content browser.
- In the content browser find Plugins→OMGBuildings.
- In the OMGBuildings Content, you will find a Blueprints folder.
- Open the Blueprints folder to see the available blueprints.
- Drag the OMGBuilding blueprint from the Content Browser into the level.
- Select the building actor and use the Details panel to:
- Add a Mesh Data Asset
- Add a Material Data Asset
- Resize the building using the Dimensions section.
- Adjust window coverage (0-100 scale; set above 0 to see windows).
- Move and rotate your building as needed.
Pro Tip: If you don't see windows, make sure the window coverage is set above 0!
Prefer video? Watch the tutorial here.
Back to Top
OMGBUILDINGS ADDONS COMING SOON!
Sign up to this website or subscribe to YouTube for info
Custom Building Setup
Customize your buildings with your own meshes and materials.
Most customization comes from creating new Material data assets. Mesh assets are only needed if you want to use your own custom meshes.
Creating a Mesh Data Asset
- In your Project Content Folder, I suggest that you create a Data folder, then an OMGMesh folder inside it:
Content→Data→OMGMesh - Navigate to the folder you have created.
- Now right-click in the Content Browser, search for "Data Asset", and select it.
- In the Data Asset select box, type "OMG" to see the OMG data asset types.
- Choose the "Mesh" type and name it as you choose.
- Now you should see the Data Asset in your new folder in the Content Browser.
- Double-click the new data asset to open it and begin to set up the mesh properties.
- You will see that you can select the base mesh (used for walls and floors) as well as corner meshes and a window mesh.
- The internal corner mesh will not be visible unless you hide external walls.
- The window mesh will be placed on the walls based on the Window Coverage setting in the instance of the building actor (the OMGBuildings section of the Building details panel)
- Bear in mind there are two types of Window Mesh; full mesh replacement and non mesh replacement.
- The Full Mesh Replacement window mesh will completely replace the wall section where it is placed. This is useful for buildings with large windows or glass walls (such as some skyscrapers). We have provided examples of both types of window mesh.
- If you choose to make custom meshes, then you must follow the same setup as the supplied mesh in terms of pivot location (bottom / front / left).
- After you have made the changes that you want, you can save the asset and apply it to your building.
- Just select the building in the level and alter the mesh asset in the details panel.
Creating a Material Data Asset
- The process for creating a Material Data Asset is similar to that of the Mesh Data Asset.
- Navigate to your Content→Data folder, right click and create an OMGMaterial folder inside it.
- Now go into your new OMGMaterial folder, right-click in the Content Browser, search for "Data Asset", and select it.
- In the Data Asset select box, type "OMG" to see the OMG data asset types.
- Choose the "Material" type and name it as you like.
- Double-click to open and set up the material properties.
- You will select base materials for the Walls, Floors, WindowFrames, WindowInternals, Roofs.
- These materials can be any material you have in your project. You can also use the supplied materials as a base to create your own custom materials.
- If you use the supplied OMG Materials, you can also select the Type of texture that is used. More information about this is included below in the Materials section.
- You can also select a different blockout material for each of these parts of the building.
- You can also set Grunge levels.
- After you have made the changes that you want, you can save the asset and apply it to your building.
- Just select the building in the level and alter the material asset in the details panel.
Apply these data assets to your building instances to see your customizations in action!
Ready for more? Explore advanced customization next!
Prefer video? Watch the tutorial here.
Back to Top
Advanced Building Customization
Unlock advanced options to create unique building designs:
- Show/hide walls - hide entire walls to join buildings together into mega buildings!
- Skip wall segments - skip specific mesh segments to leave gaps for doors or anything else you want to add.
- Show/hide floors - hide entire floors to create empty shell buildings
- Skip floor segments - skip specific floor segments to leave gaps for stairways, lifts, or anything else you need.
- Show/hide roof - hide the entire roof to create open-air buildings.
- Skip roof segments - as part of floor skipping you can also leave gaps in the roof - maybe for stairways to the rooftop.
- Window Coverage - control the coverage of windows on your building facades.
- Skip Windows on certain levels - selectively skip windows on specific floors - hide all windows on the 13th floor maybe...
Prefer video? Watch the tutorial here.
Next: Generate entire cities!
Back to Top
Generating Cities
Generate entire cities with just a few clicks!
- Create a new empty level.
- Ensure you can see Plugin Content in your content browser.
- In the content browser find Plugins→OMGBuildings.
- In the OMGBuildings Content, you will find a Blueprints folder.
- Open the Blueprints folder to see the available blueprints.
- Drag the BPOMGZoneRandom blueprint from the Content Browser into the level.
- Select the Zone actor in your level and use the Details panel to:
- Add multiple Mesh Data Assets
- Add multiple Material Data Assets
- The buildings will now appear - but will probably be too bunched together
- You now can click 'Uniform Grid' to immediately separate them, or you can tweak the distance between buildings
- Set the number of rows and columns (grid size) of the city
- Set the minimum and maximum building dimensions (X/Y/Z)
- Adjust window coverage (0-100 scale; set above 0 to see windows).
- Turn on/off the Terrain Slope if you want to see how to generate on a hill for instance
- Move and rotate your building as needed.
Prefer video? Watch the tutorial here.
Next: Learn about city editing tips!
Back to Top
City Editing Tips
- After you're happy with your city, DELETE the Zone Actor from the level.
- You now have lots of individual buildings you can customize.
- These buildings are in fixed positions (cannot be moved/dragged)—this keeps your city layout intact.
- You CAN edit dimensions, walls, materials, and skipped segments for each building.
- Add new, movable buildings by adding a new instance of the BPOMGBuilding blueprint.
Prefer video? Watch the tutorial here.
Next: Learn about materials!
Back to Top
About Materials
OMGBuildings materials are optimized for performance and flexibility. Use them, adapt them, or bring your own!
- Buildings use HISM, taking advantage of Unreal Engine's Per Instance Rendering for efficiency.
- Materials are shared between building instances, reducing memory usage and improving performance.
- Texture Arrays let you control which texture is used via the Data Asset.
- Select a Texture Style from the Data Asset; it's converted into a Per Instance Custom Data index for the OMG Material and Texture Arrays.
- You can use your own materials for walls/floors, or create your own adaptation of the OMG Surface material.
- Start with the provided Material Instances and Texture Arrays, then create your own for unique looks.
Prefer video? Watch the tutorial here.
Next: See our recommendations!
Back to Top
Recommendations
- Build lots of smaller "pocket" cities (e.g., 5x5, 8x8, 10x10) instead of one huge city.
- Create levels with these pockets and include them in your game world. You can duplicate and rotate them for variety.
- If you need more textures, check out the Extras section for add-ons.
- Subscribe to our YouTube channel for more tips and updates!